![]()
Warhammer 40K Battle Report
That Damn Dreadnought
In this game, Simon's Imperial Guard were supported by a Dreadnought and some Grey Knights. Simon's Dreadnought does suffer terribly in games and this game was to be no exception.
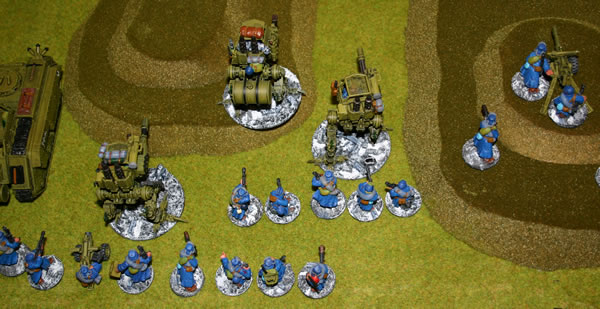
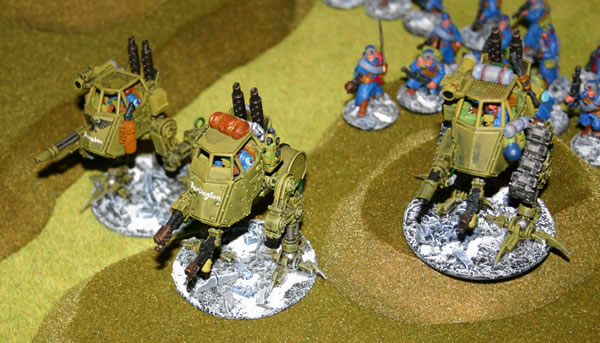
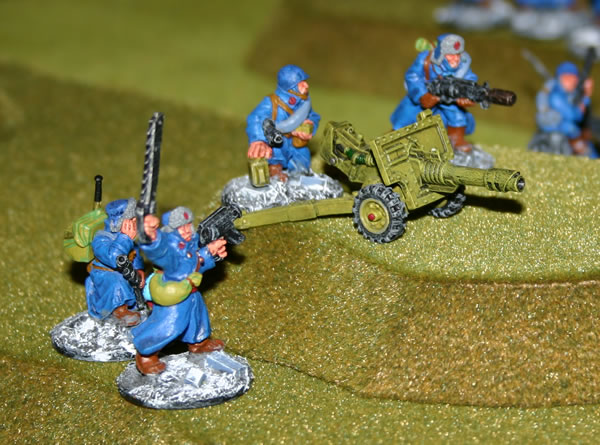
This was the lineup of Simon's Imperial Guard, as well as the three Sentinels, they had a Salamander Command vehicle in support.
The Grey Knights were supported by a Dreadnought, in the last game I played against this brute, my Grot Kannon fired and destroyed it with a single shot - considering in every other game they had never hit anything, they were as surprised as I was!
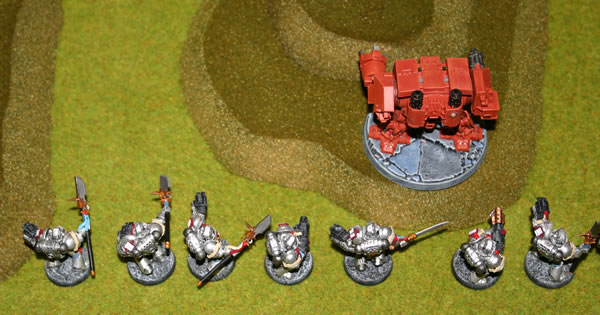
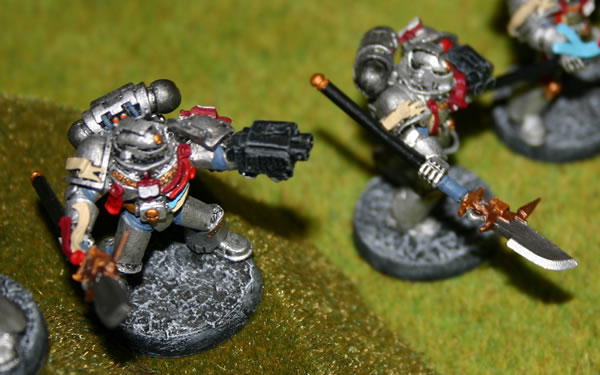
Here the Grey Knights look quite fearsome!
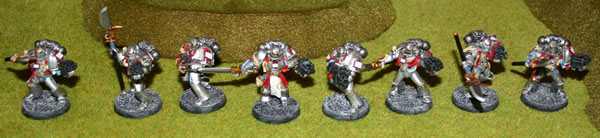
A closeup of the Flamer and Justicar.

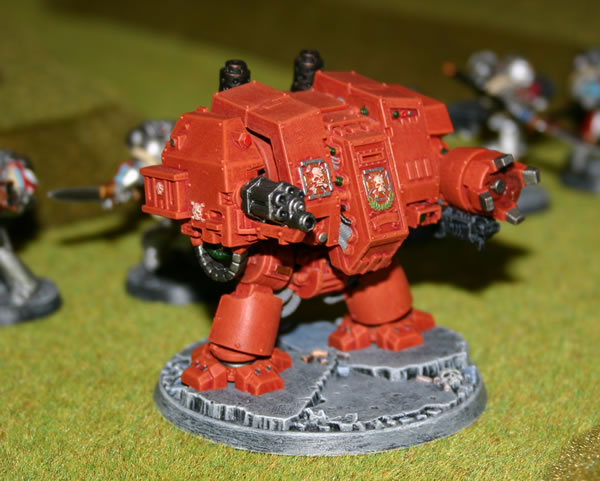
The fearsome dreadnought, before it burst into flames!
Ork Killa Kans, Deth Kopta (which lasted one turn) and some Slugga Boyz. Also was my dependable Grot Bomb Launcha, which you can depend on to bounce off Simon's tanks. We have a house rule which allows it to fire every other turn.
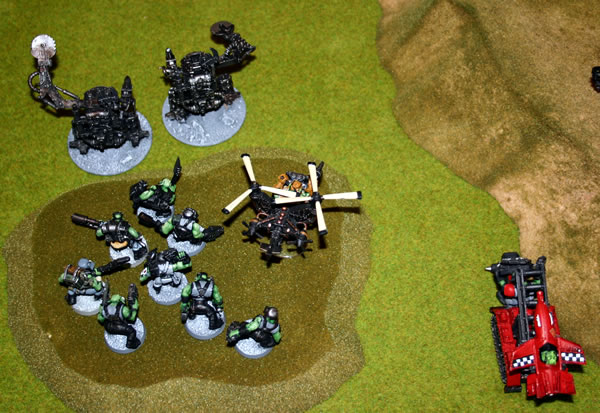
Central Ork position with Grot Kannon (with loads of extra Krew).
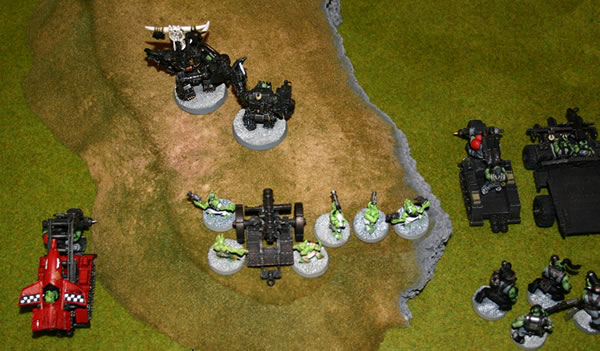
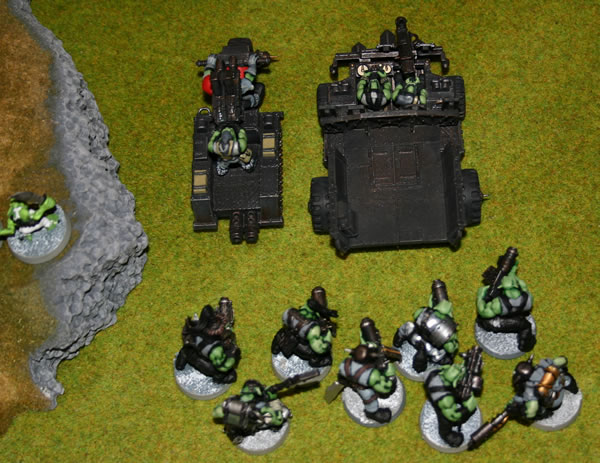
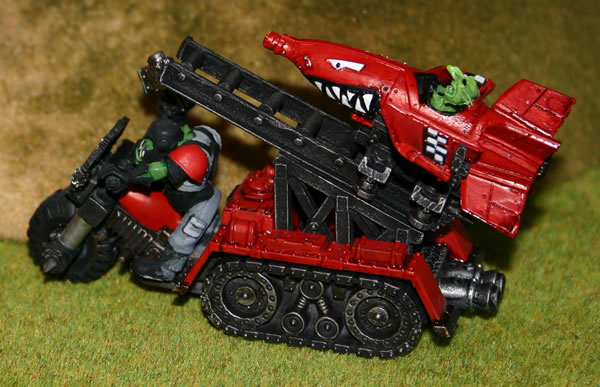
Trukk, Wartrakk and Shoota Boyz.
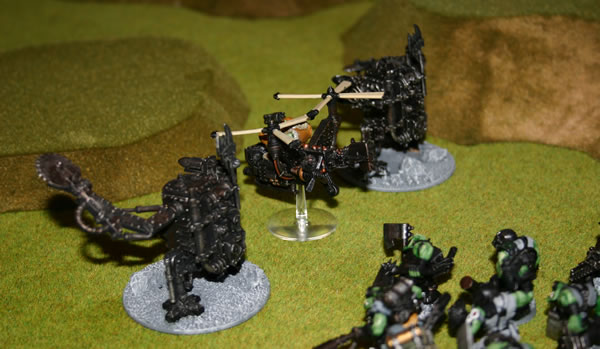
Killa Kans and Deth Kopta advance, only for the Deth Kopta to be shot down and crash and burn.
Imperial Sentinels advance. With extra armour, enclosed cockpit and rough terrain modifications they are quite difficult to kill.
Grey Knights launch a volley of Storm Bolter fire...
Grot Bomb Launcha prepares to open fire...
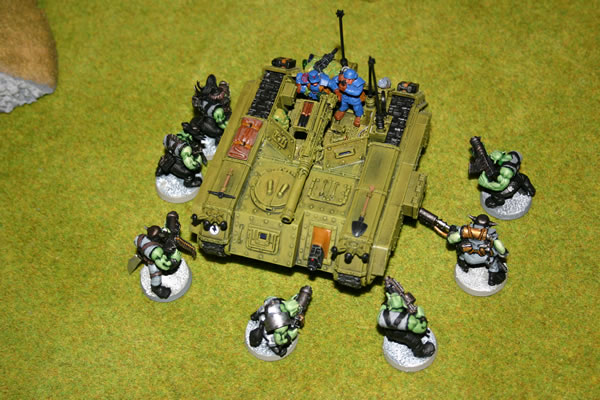
An Imperial Salamander "tank shocks" the Ork Shooty Boyz. One attempts to heroically destroy the tank, but is crushed! The boyz then attack and systematically destroy the tank.
Imperial Guard Lascannon prepares to fire.
In the end I just ran out of Orks...