Photographic Terrain Tile - Desert
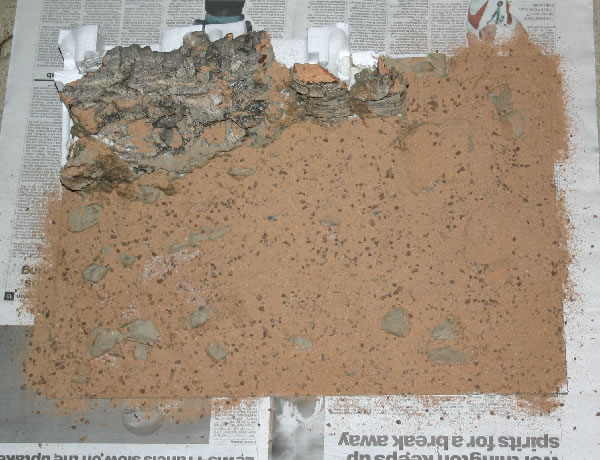
After this was left to dry the next stage was to add the sand.
I used Games Workshop sand, which is not too fine (unlike my son's sandpit sand) and also has tiny stones as well.
I flowed some PVA (white) glue into the scenery and then using a wet brush watered down the glue. I then covered this with the sand and left it to dry. This picture shows the sand piled on.
Having forgotten to take a picture of the intermediate stage from the last picture, I spray painted the scenery. Starting off with a black spray for the rockface, this was followed by a rust red colour and finally a brown spray. The picture shows it just after I finished so the paint is still wet.
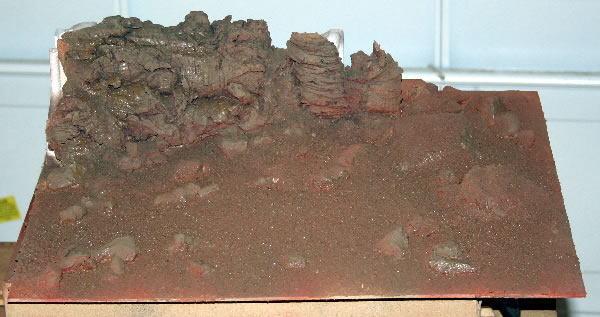
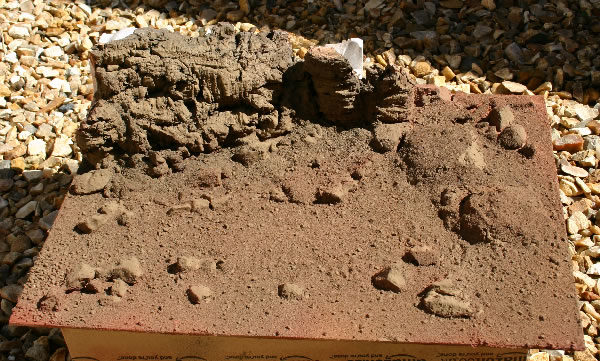
The last picture of the Photographic Terrain Desert was taken in the garage when it was still wet.
Here is a picture of it in the sun, now dry.
This picture shows (though it is still unfinished) how I am going to use it for photographs.